The importance of pre-alignment
The pre-alignment steps of machinery alignment, while fundamental, are critical to performing an accurate alignment. Simply put, pre-alignment checks are the things that should be done before the actual alignment is attempted.
Furthermore, consistently practicing thorough pre-alignment inspections can lead to an increased bottom line for your company. When you perform these checks, you significantly decrease your chances of overlooking a problem that could cause your rotating machinery to have issues later, which could, in turn, lead to production downtime. Thanks to its variety of application possibilities, the AT-010 Run-Out Probe is the perfect pre-alignment tool for maintenance professionals who need to keep tabs on their machinery’s performance
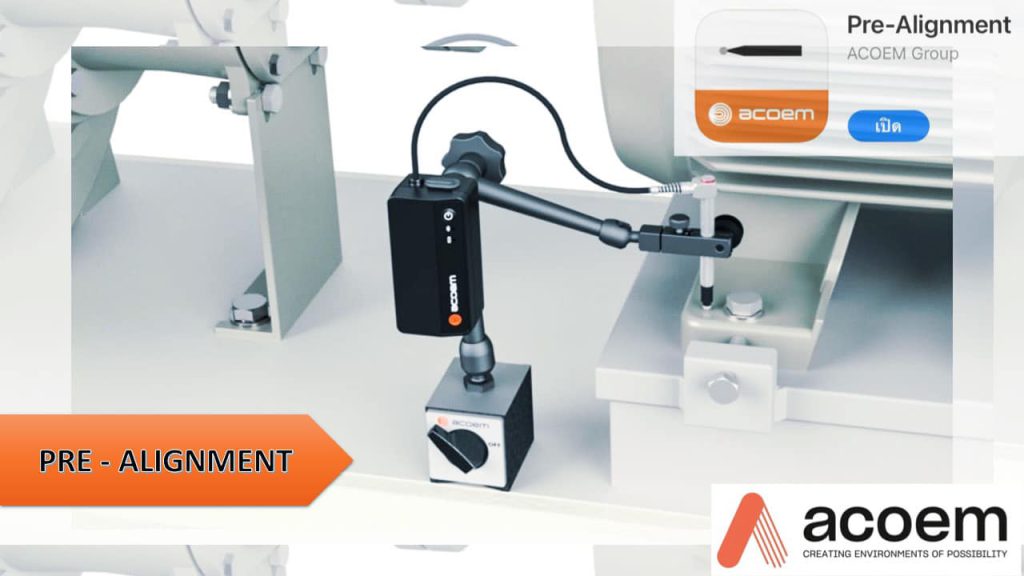
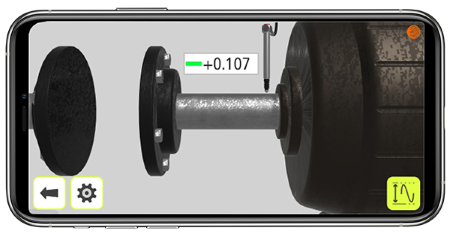
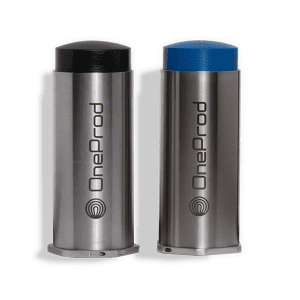
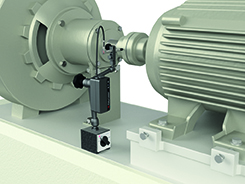
The AT-010 Run-Out Probe is the first displacement probe that can be combined with a laser alignment system. It is an app-based displacement probe with a wireless connection to a remote display or a FIXTURLASER NXA display unit, capable of performing a multitude of pre-alignment checks, such as:
- Axial and radial runout checks on flanges
- Checking movements on machine feet (soft foot)
- Checking bearing clearances
- Checking movements due to pipe strain
- Thermal growth measurements on machine casings
- Checking for bent shafts

True Softcheck – An Industry First Application
A softfoot condition needs to be corrected before any shaft alignment takes place. Otherwise, it is more or less impossible to properly align a machine with an existing soft foot condition.
The AT-010 Run-Out Probe measures directly on the machine foot the play that occurs as you release the bolt. The user will obtain true softfoot values in contrast to other methods that measure the shaft movement/s as an indication of softfoot.
Measure the actual movement on each foot
Clear on-screen guidance to achieve perfect results
Results are saved for the report and later review
The adjustable probe tip can be adjusted for use on machines with space restrictions around the foot during SoftCheck
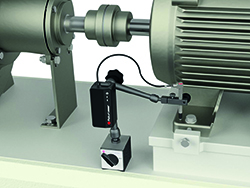
Bearing Clearance
Correct bearing clearance is important for achieving good alignment results.
Detects bearing wearChecks for excessive bearing clearance radially and axially
Checks for excessive bearing
Results saved to report
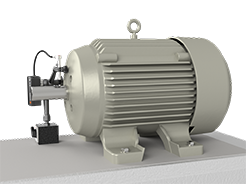

Run-Out
Bent shafts, skewed or eccentric mounting of coupling hubs can cause harmful vibrations.
Check runout on shafts and couplings with just one rotation
Onscreen setup and measuring guidance
Results saved to report
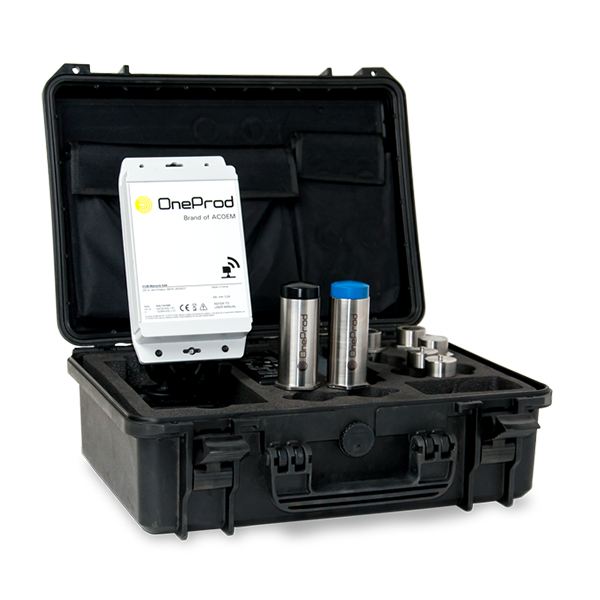
What’s in the case?
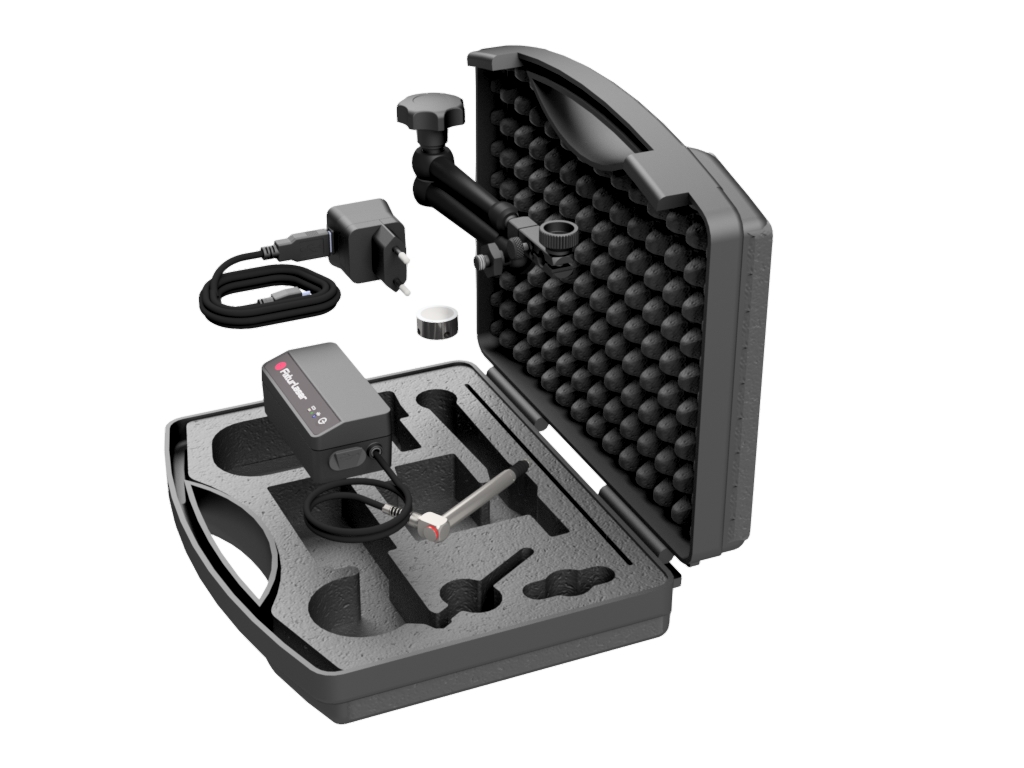
The AT-010 runout probe package with case
1 LVDT sensor
1 magnet
1 power supply
1 USB cable A-Micro
1 sensor stand without magnet base
1 adjustable probe tip
FIXTURLASER NXA manual – English version


![ชุดเครื่องมือคาร์ไบด์ปลาย M6 – [HS-AA0310203] ชุดเครื่องมือคาร์ไบด์ปลาย M6 – [HS-AA0310203]](https://www.faadtech.co.th/wp-content/uploads/2024/07/HS-AA031-600x600.jpg.webp)


